Jeff Atwood once famously proclaimed "we are typists first, programmers second". While I think software development is a little more complicated than that, this quote brings up an important point: efficiency in software development hinges on the tooling we choose.
For the longest time I used Bash as my UNIX shell. It got the job done. I would occasionally feel frustrated by a repetitive command or a missing feature, but there was usually an alias or script I could apply like a bandaid to minimize the pain enough to keep going. I even switched to iTerm several years back to improve my terminal emulator GUI. I worked with Bash for long enough that I managed to amass a pretty fancy .bash_profile config. If you're curious about my config, you can check it out for yourself.
But I'm not here to help you optimize Bash. I'm here to tell you there's a better way.
Why ZSH is better than Bash
After a few years working in the software industry, I kept noticing that the shells of senior programmers often looked much different than mine did.
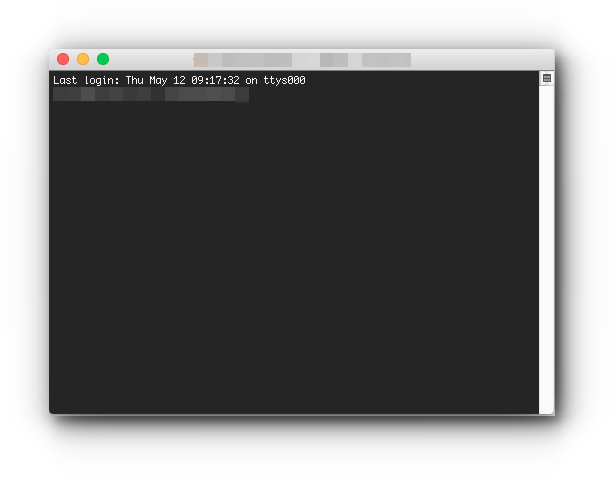
Whereas my shell looked something like this:
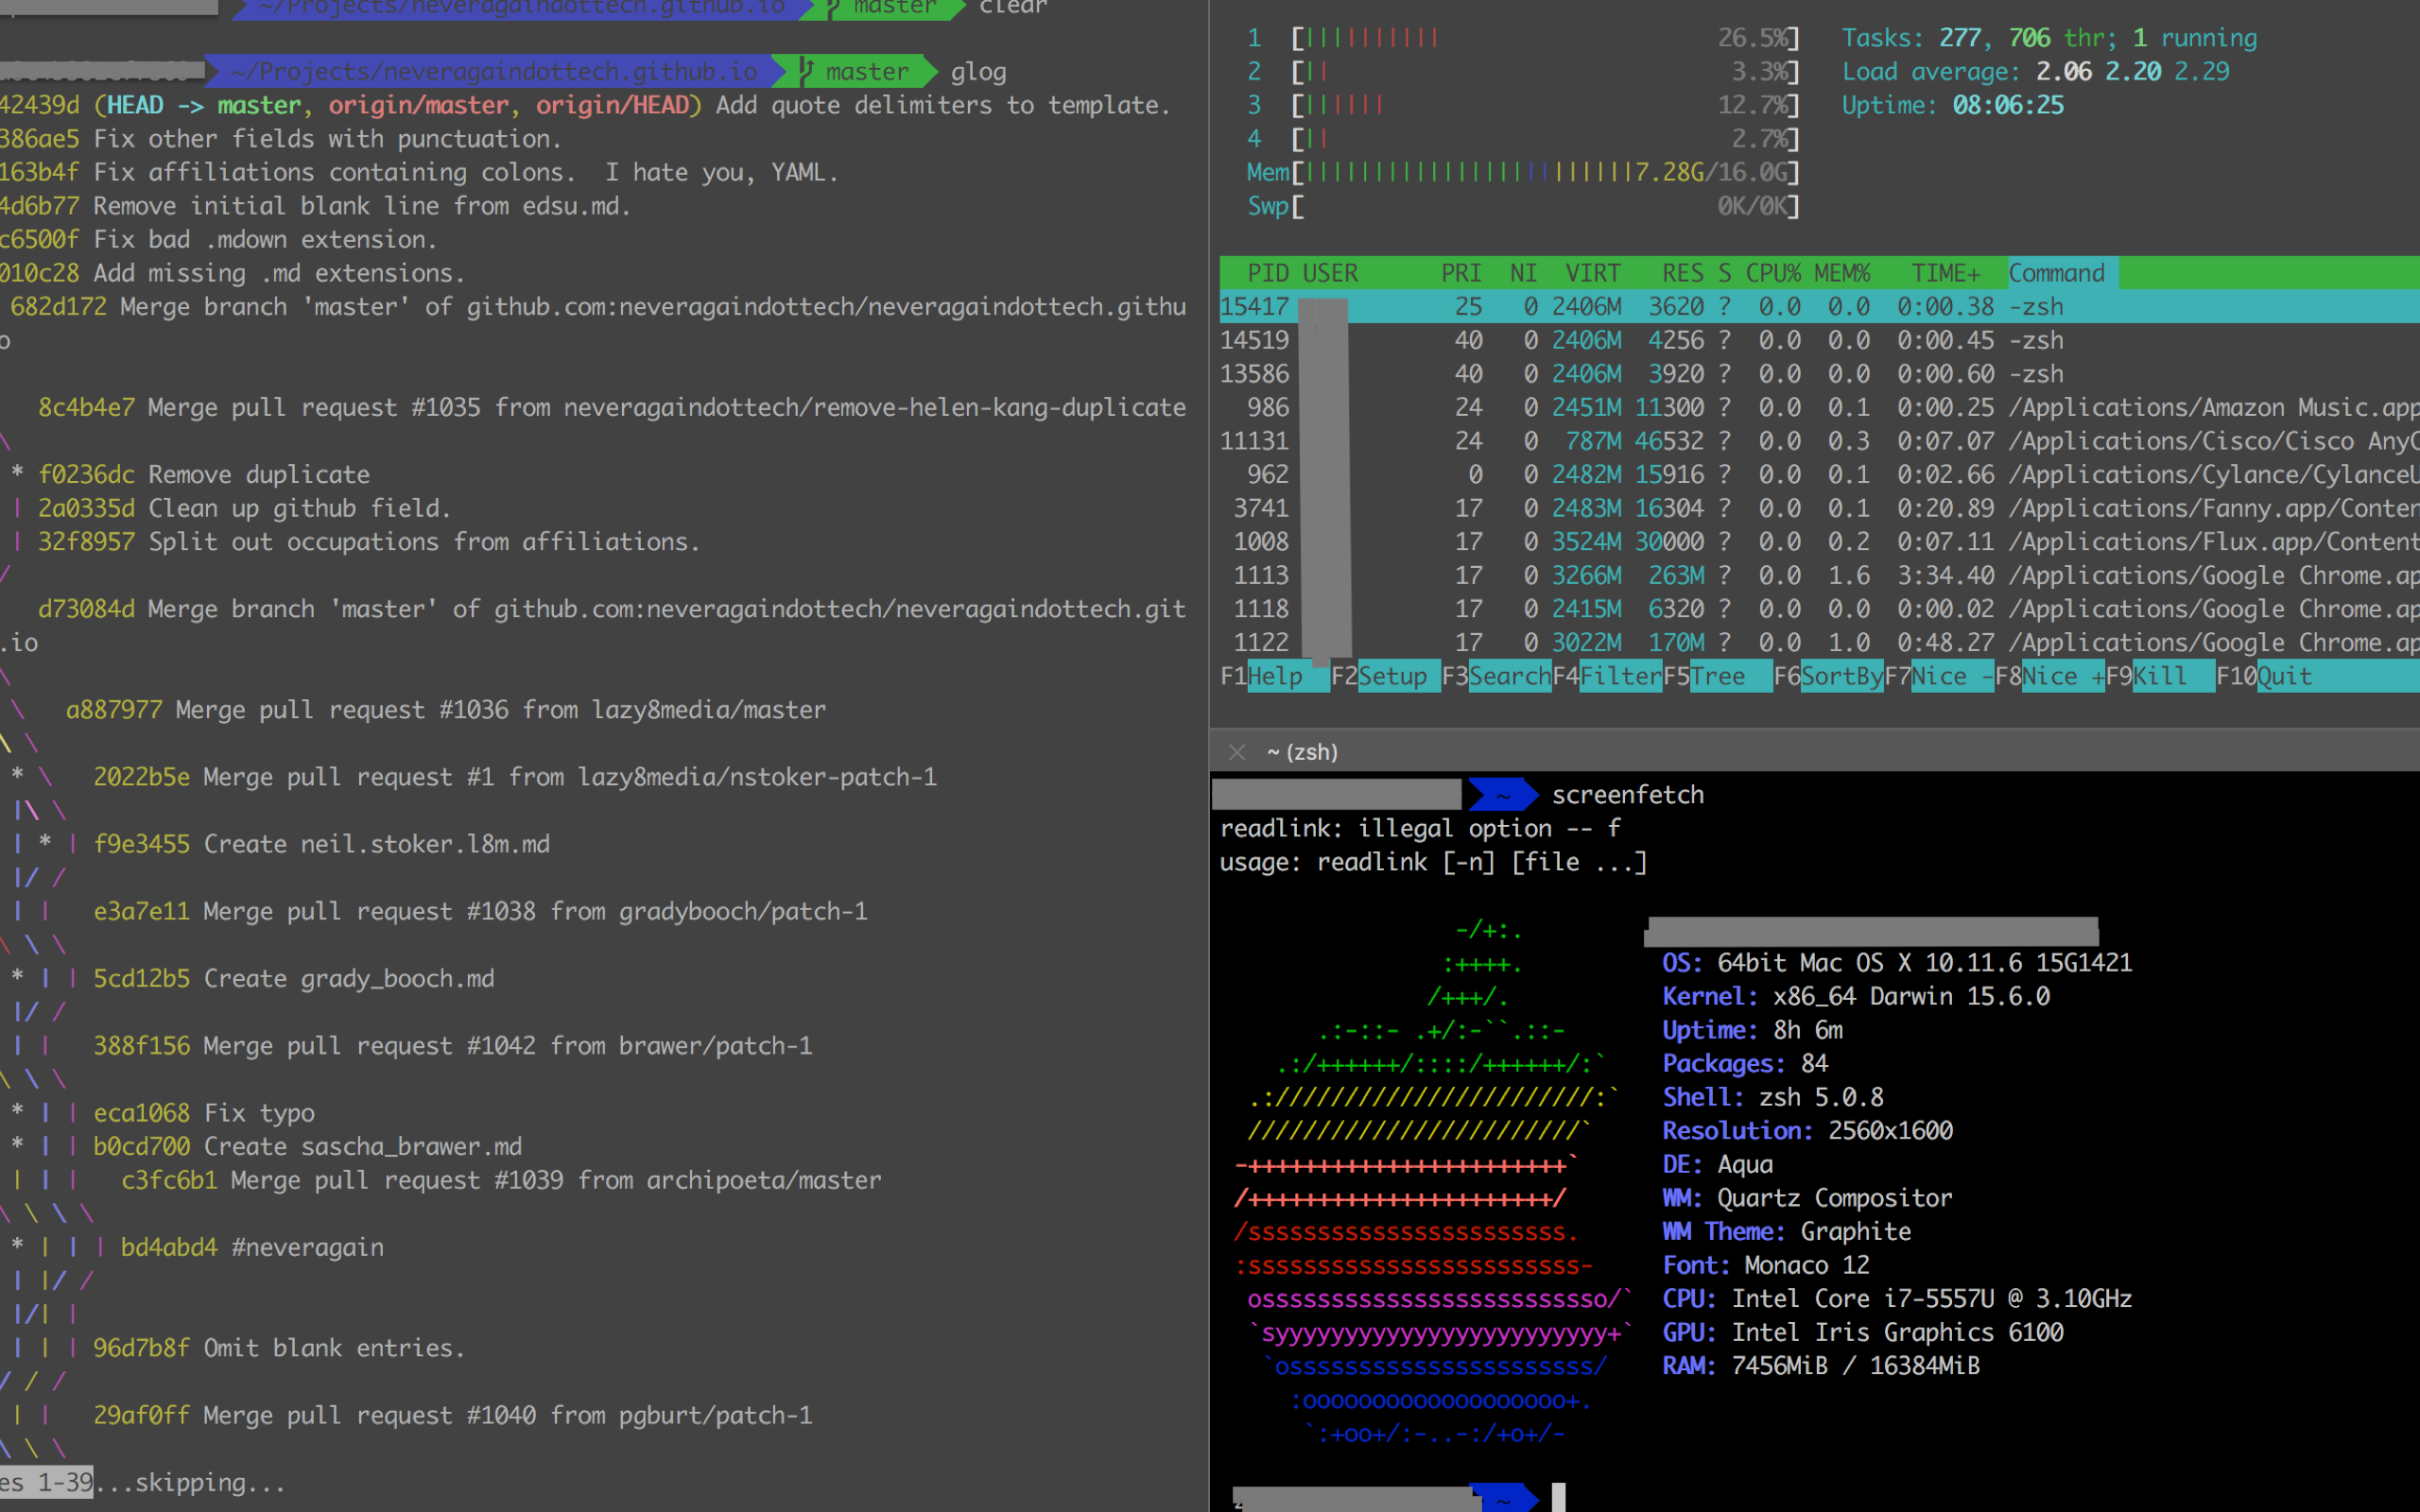
Theirs tended to look more like this:

I had heard talk of alternative shells like ZSH before, but I always assumed that the difference was purely aesthetic. It wasn't until I started working for a company whose cloud machines all came pre-configured with ZSH that I realized what I was missing.
ZSH provides a huge number of improvements over other shells and I could write an entire post just comparing and contrasting the benefits and drawbacks. Instead, I'll provide you with this excellent slide deck about the benefits of ZSH over Bash:
Getting Started on Mac OS X
First let's cover the basics of getting ZSH set up on your Mac. The good news is that you probably already have ZSH on your system.
1. Install ZSH

Let's get started by running which zsh in whatever shell you're currently using. If you have the executable on your system, which should output /bin/zsh or something similar.
If which instead outputs zsh not found, you can install zsh easily with Homebrew. Just run brew install zsh.
I also strongly recommend using iTerm2 as your terminal emulator app on Mac OS X. You can download it here.
2. Set ZSH as your default shell
The actual process for changing your default shell from Bash to ZSH is extremely easy. Just run chsh -s /bin/zsh.
Note that you'll need to supply the correct path your ZSH binary which you can get with the
which zshcommand we used earlier. Click here for more information on thechshcommand.
That's it! Close and reopen your terminal. You're now using ZSH!
3. Install a ZSH configuration manager
In the old days, configuring ZSH manually took a lot of time and effort. Thankfully, ZSH has a large and devoted user community which has produced a few tools to help with writing and sharing ZSH configurations.
The two big players are Oh My ZSH and Prezto.
tl;dr Oh My ZSH has a larger community, but Prezto performs better with a large number of modules installed.
I use Oh My ZSH since it has a wider variety of themes and plugins. Its also the most "standard" of all options, which means a larger community and better support. If you hit a wall early with Oh My ZSH, feel free to try out alternatives.
Installing Oh My ZSH is pretty easy. You can find CURL and WGET instructions here.
Run the command of your choice and that's it. One and done.
4. Choose a theme
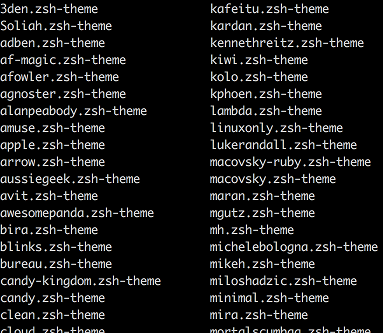
Setting a custom theme with Oh My ZSH is simple. Oh My ZSH comes bundled with a bunch of themes by default. You can find a list with screenshots on their wiki. If you want to see the files on your local filesystem, they live in ~/.oh-my-zsh/themes.
Once you've picked a theme, open the file ~/.zshrc in the text editor of your choice. Towards the top of the file you should see a value ZSH_THEME. Change the value of the string to the name of the theme, save the file, and then run source ~/.zshrc to pick up the changes.
Check out the Oh My ZSH README for info on how to install custom themes.
5. Add plugins
Oh My ZSH's best feature is its ability to manage custom ZSH plugins. Setting up a list of custom plugins works just like changing themes. Open ~/.zshrc in a text editor and look for a line that looks something like plugins=(git). Check out the comment two lines up for an example of how to add to this list.
Just like with themes, you can browse bundled plugins in a list on the Oh My ZSH wiki, or you can browse the files locally at ~/.oh-my-zsh/plugins. Custom plugins can also be installed. Check out the Oh My ZSH README for more info.
I'm a relative newbie which makes me a bad resource, but here's a list of the plugins I'm currently using:
6. Customize your experience
Now that you've got ZSH and Oh My ZSH set up, the possibilities for customization are nearly endless. You can add custom themes and plugins, write your own custom aliases or configure advanced auto-completion for the tools you use most commonly. A couple good places to get started are zsh-lovers, the ZSH man page and the Oh My ZSH community page.
As a VIM lover, one addition I personally made was to add a command mode to my shell so that I could use VIM keybindings to navigate around the text of my commands. You can do this with bindkey -v.
Bonus shot of my terminal (PII grayed out):