The first step on your way to getting through the bomb lab will be setting up your environment. This page will assume that you have decided to do the lab for fun and profit. If you are a student, you’ve probably already been given these materials by your professor. Get to work.
You can find all the necessary files on the “Lab Assignments” page of Bryant and O’Hallaron’s website, or you can download all the pieces individually.
The first thing you will need is a machine in which to run the bomb lab. The write-up states:
You must do the assignment on one of the class machines. In fact, there is a rumor that Dr. Evil really is evil, and the bomb will always blow up if run elsewhere. There are several other tamper-proofing devices built into the bomb as well, or so we hear.
In particular, you will need to run the lab on a 32bit Linux machine. The Bomb Lab is compiled into IA32 Assembly, so you’ll need a 32bit operating system on which to work. When I was in school, our professor provided us with a virtual machine image of Xubuntu 12.04 “Precise” to serve as our lab environment, which we all were asked to run on VirtualBox. For the sake of consistency, I’ll be using the same machine that I used then for this demo. Here are the exact specs of my environment:

You can find VirtualBox here and Xubuntu 12.04 here. I’m not going to go into the details of setting up a virtual machine since that is outside the scope of this article, but a quick web search should return a multitude of helpful documentation on how to get a virtual machine running on VirtualBox.
Once you have your environment set up, you’ll need the actual files for the lab. I’ll provide links here to make things nice and simple:
- This link will open a direct download of the bomb binary, compressed via tar
- This link will take you to a PDF of the lab writeup, which provides a number of helpful hints towards solving the lab
If you’d like to stay completely consitent with the demo I’m about to provide, download these files into ~/Documents. Once you have your VM set up and the files downloaded, you’re ready to start!
Orientation
Before we do anything with the binary, let’s take a look at our materials and go over our toolset. First things first, we should unpack our newly downloaded .tar file.
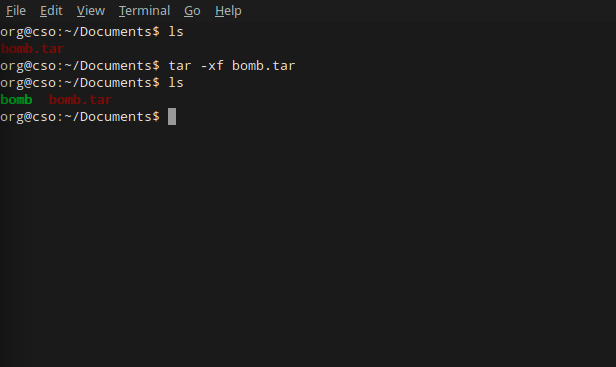
The contents are rather plain. Just a binary executable called “bomb”. At first, just staring at this and wondering how the hell you’re supposed to get six passwords from it can feel pretty intimidating. Let’s head to the lab write-up to see if we can find any information on where to get started. This is an important lesson to aspiring software engineers. When you’re given something to read (especially if its called README), you should damn well read it. Take a look towards the bottom, under the header that says Hints (Please read this!):
There are many tools which are designed to help you figure out both how programs work, and what is wrong when they don’t work. Here is a list of some of the tools you may find useful in analyzing your bomb, and hints on how to use them.
- gdb -- The GNU debugger, allows you to trace through the program
- objdump -t -- Prints out the program’s symbol table
- objdump -d -- Dumps the assembly code of the program
- strings -- Prints out all printable strings in your bomb
Ok, now we’re getting somewhere. Let’s get our feet wet by printing out all the information we can about this program. We can start with strings.
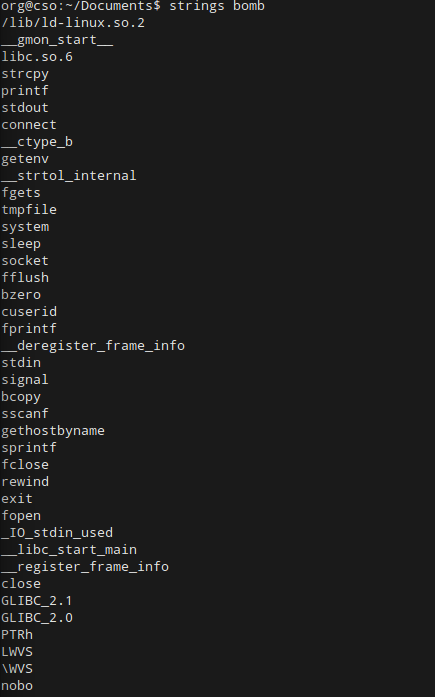
This gives us a lot of information right away. Feel free to look through the print out for any strings that might stand out to you. For now, let’s save this information for later. Run strings again, but this time pipe the output into a text file like:
strings > bomb-strings
Now, let’s get the really juicy details of the program by doing the same, but with objdump.
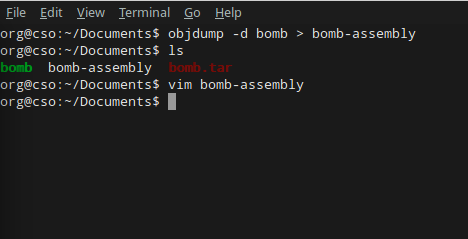
Once you open your bomb-assembly file in vim (or the text editor of your choice), you’ll see a huge amount of IA32 assembly code:
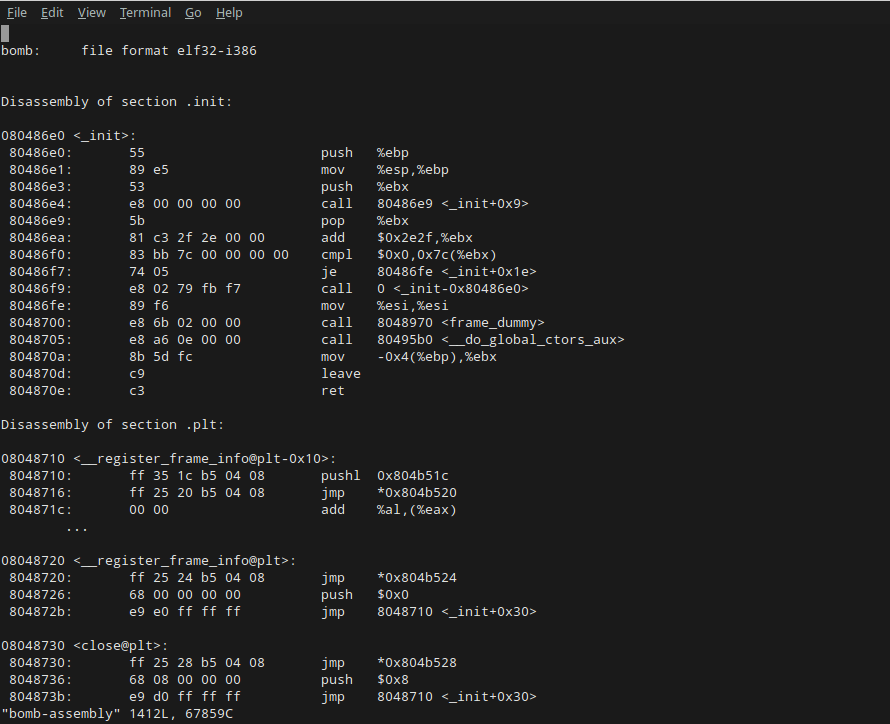
Again, don’t feel overwhelmed. Take a breath and use what you know to find a foothold and move forward on the problem. All computer programs base their operations on a main function, right? So let’s see how this one executes:
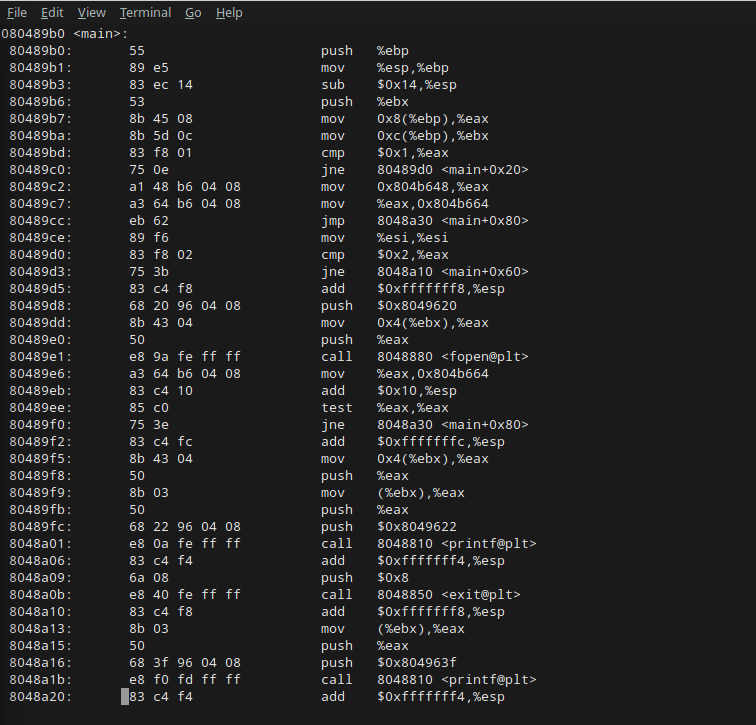
Here’s the top of the <main> function. Nothing interesting yet, so let’s scroll down a bit:
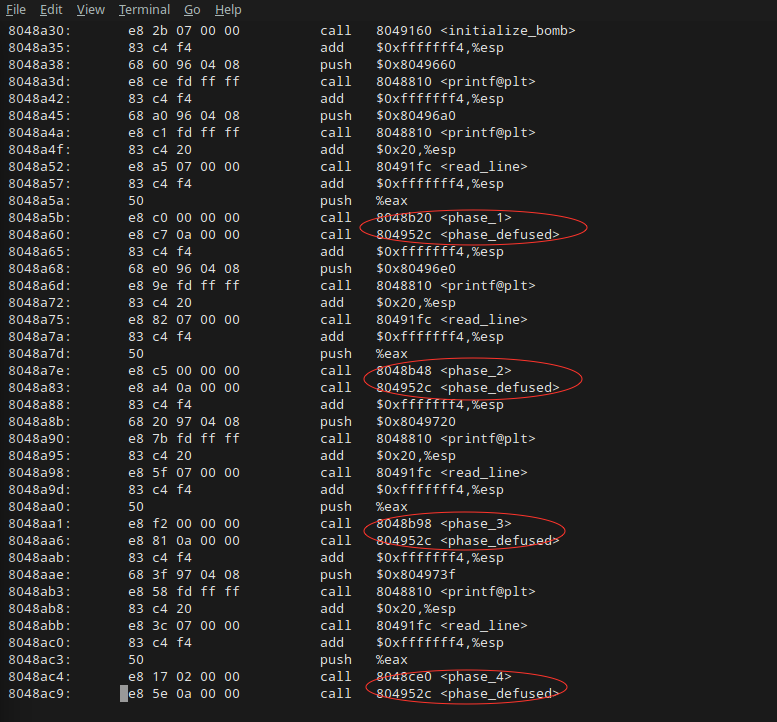
Bingo. Now that we’ve found the function calls for each bomb phase, we can use GDB to set breakpoints at each of their addresses in order to step through how they work.
Time to get started on Phase 1.


